Opening your beer in style. The making of a bottle opener.
A bottle opener can be found in many shapes and in many tools. My goal was to design a bottle opener with a heritage look and feel, combining leather, metal and a nice industrial clasp. Although the product is simple, I would like to share the production process I used to make it and show you there are more steps to accomplish then you might expect. Sheers!
We start with a steel cut opener 
which need to be grinded for the right shape to lift the bottle cap.
The wire brush will smoothen the edges.

Hammering the steel for a nice heritage and used look.
Finishing and preserving the steel with Owatrol. Overnight dry.
The steel part is done.

New old stock vegetable tanned leather to be dyed in several steps.

This type of leather needs some extra Duke & Sons Leather oil and have to dry overnight.
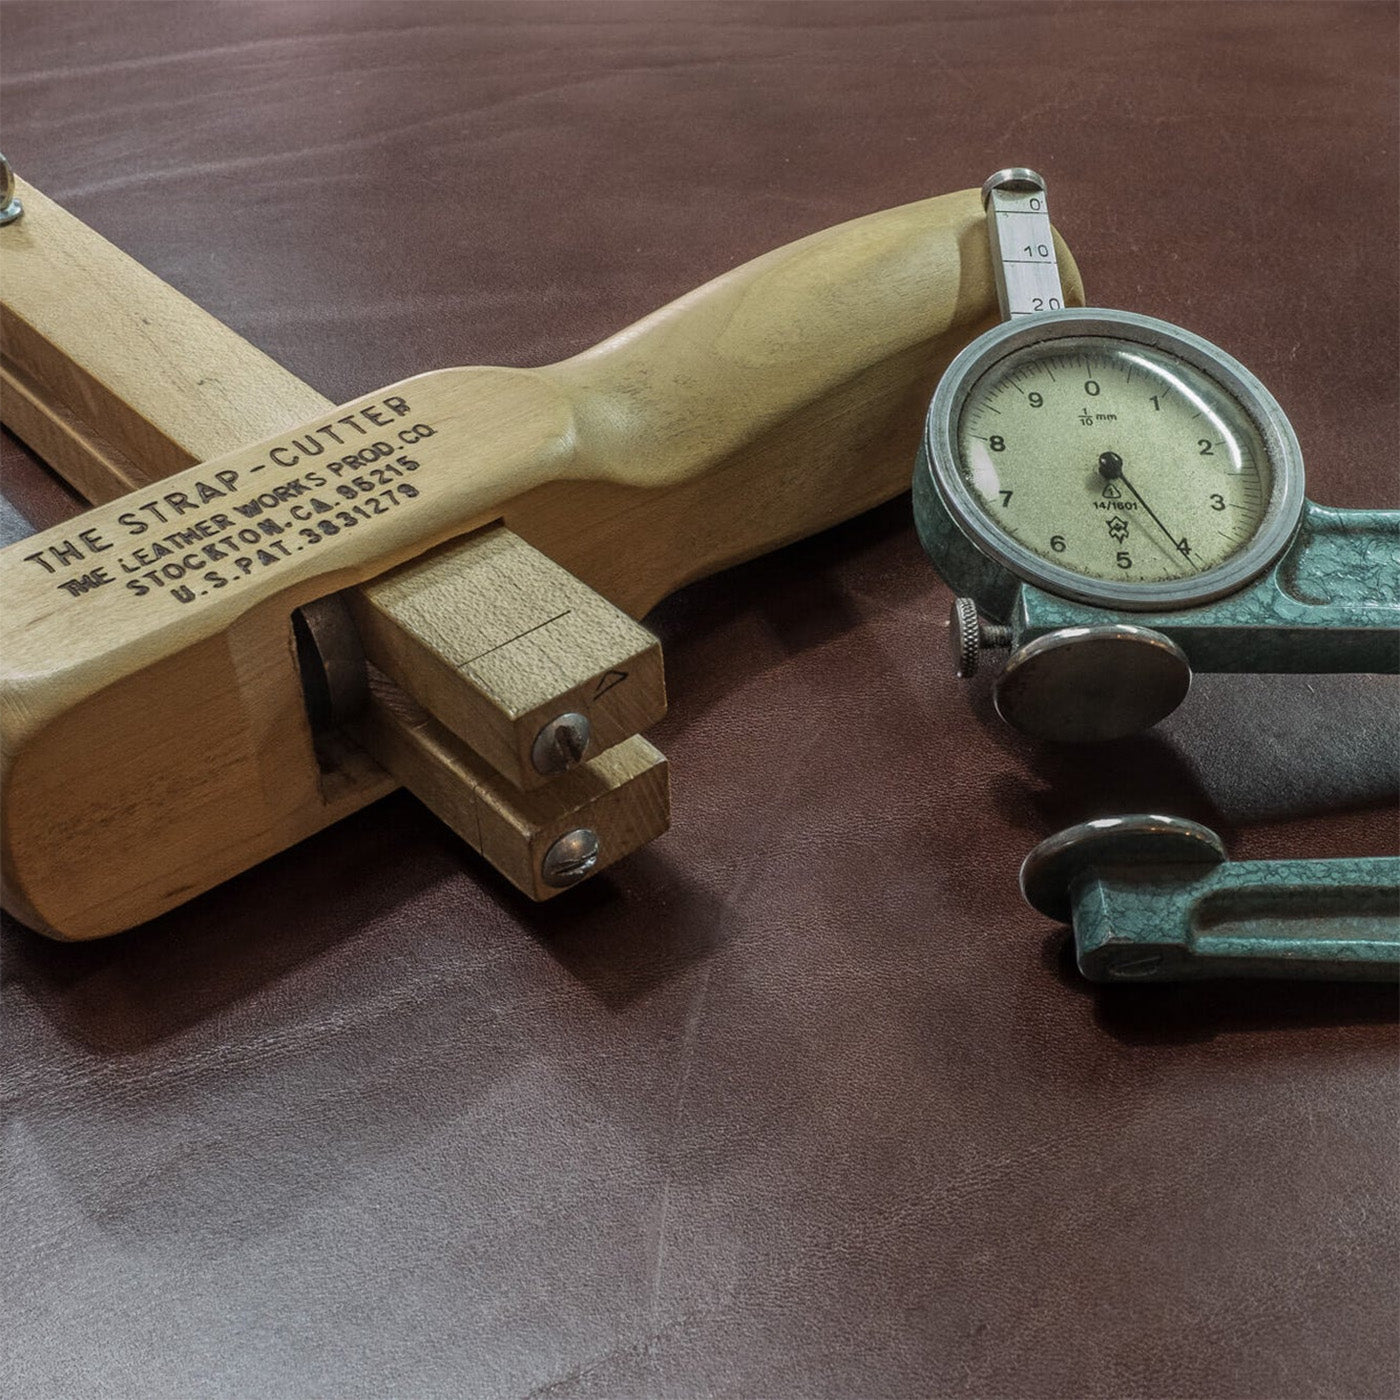
Cutting the straps.

Finishing the ends and punching the holes.

Dying and burnishing the edges for a nice and smooth result.
Burning the Duke & Sons Leather logo into the leather.
FInishing the strap with the new Duke & Sons Leather water repellent wax.
When the wax is worked into the leather, a little buffing for a little bit shiny.
Now the leather part is also finished we can assemble the opener.
Setting the rivets.
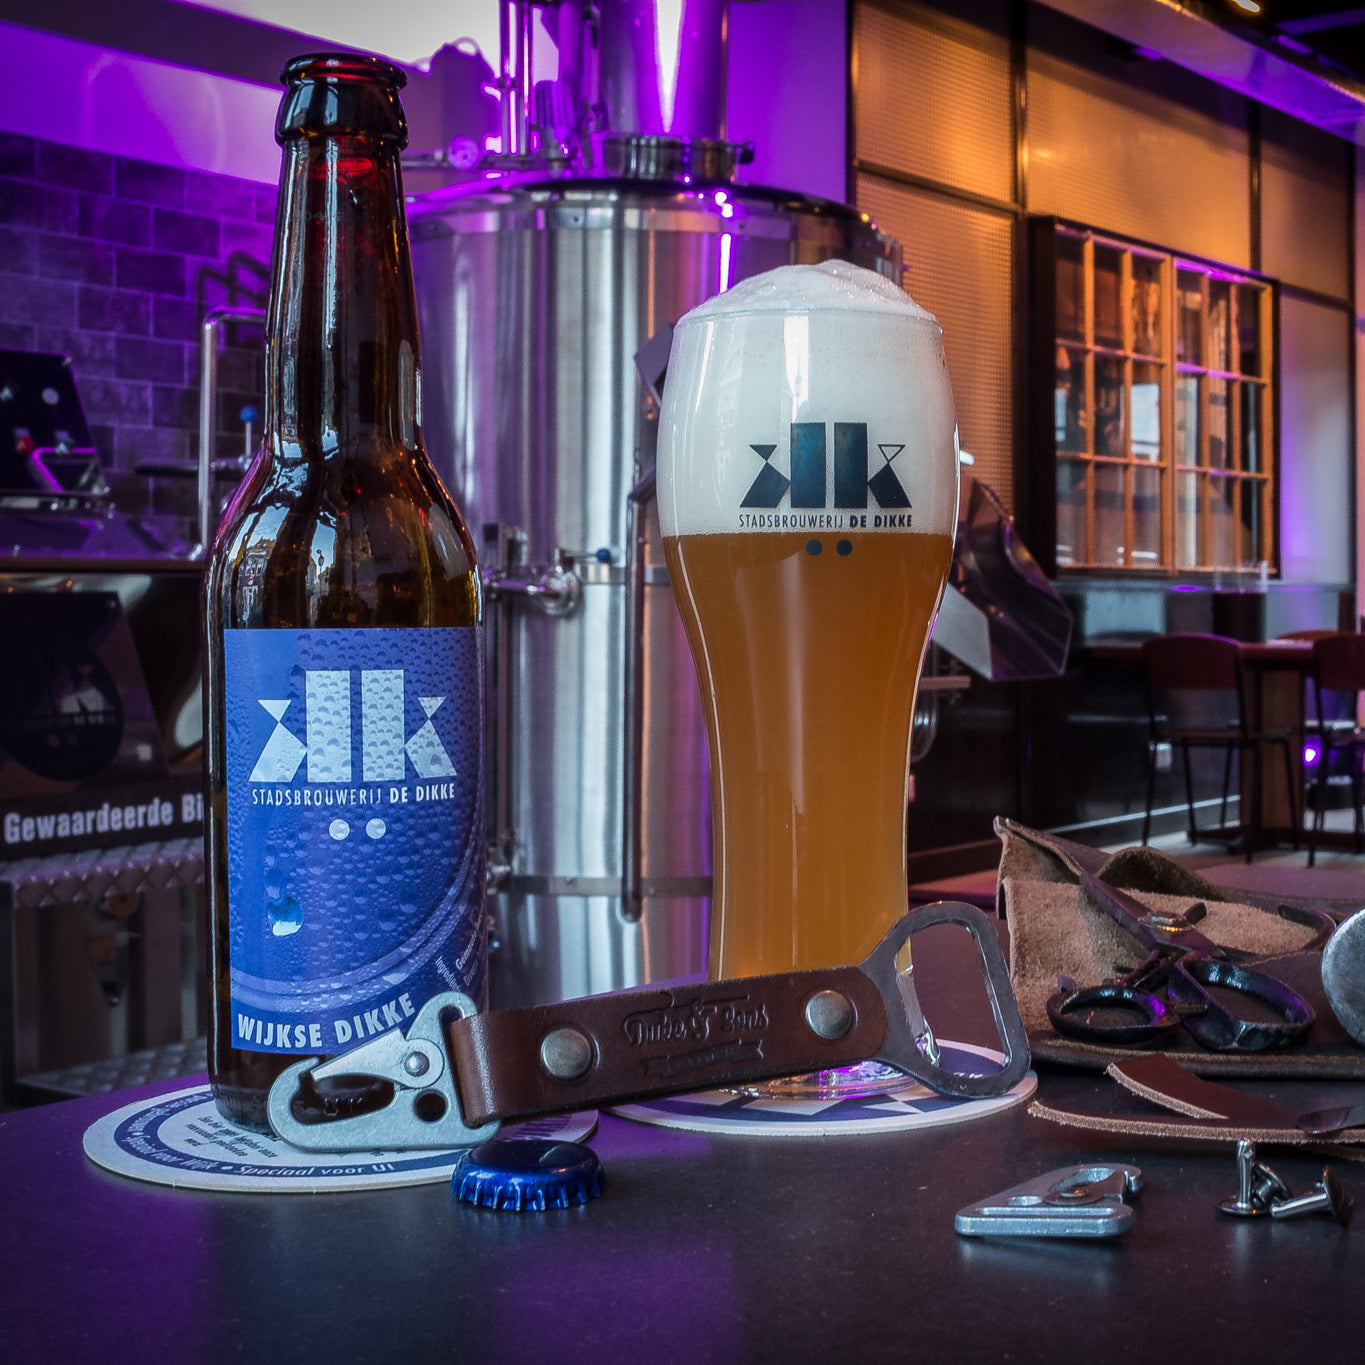
And here is the final result: The Duke & Sons Leather bottle opener!

In our new local brewery.


